

Installation
Install Your Rock N Roll Bed With Confidence
Get your Rusty Lee bed system fitted with a clear plan, the right tools, and practical guidance for a clean, secure camper setup.
Before You Start
What To Prepare
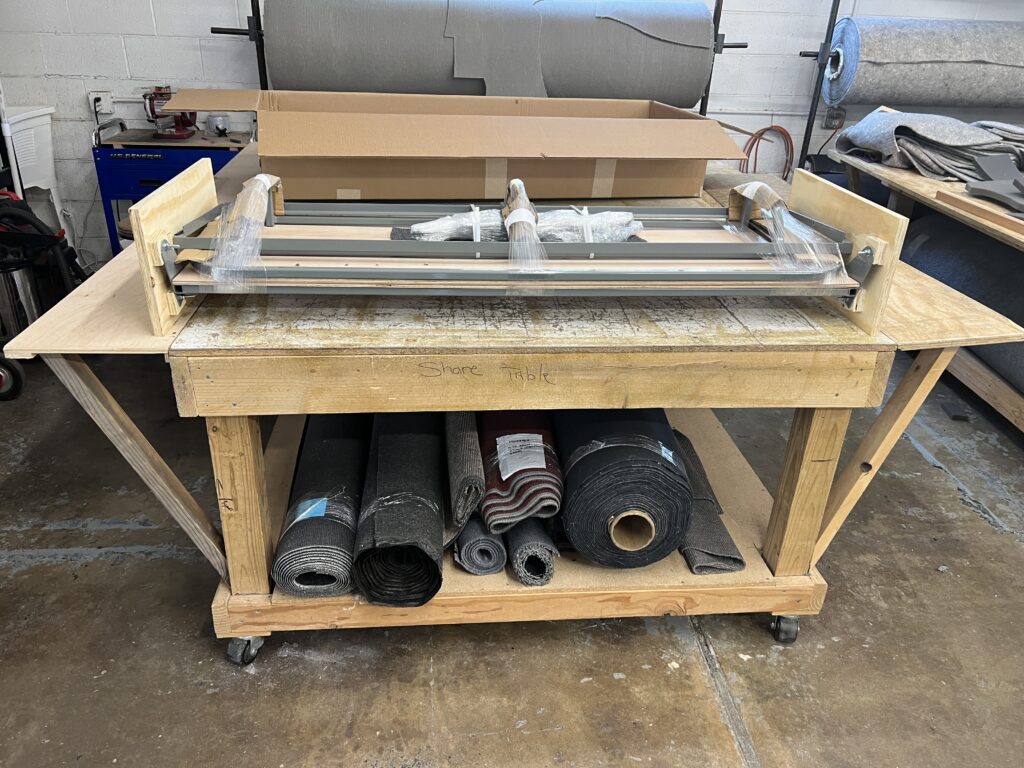
When you recieve your Rusty Lee Bed, it may be just the frame, or it could be fully upholstered, depending on how you ordered it. The pictures will show a combination of both. To start you will need to unscrew the bolts connecting the bed to the shipping stabilizers, and remove all of the plastic wrapping.
Tools Needed
13 & 17mm Sockets and Spanners
Drill
Drill Bit
Level
Square
Cone Shaped Stepped Hole Cutter
Quick Grips
A Friend
Installation Overview
Plan to spend 2-3 hours installing your bed. Follow through these instructions, and don’t hesitate to reach out if you need assistance!
Step 1
Prepare your Space
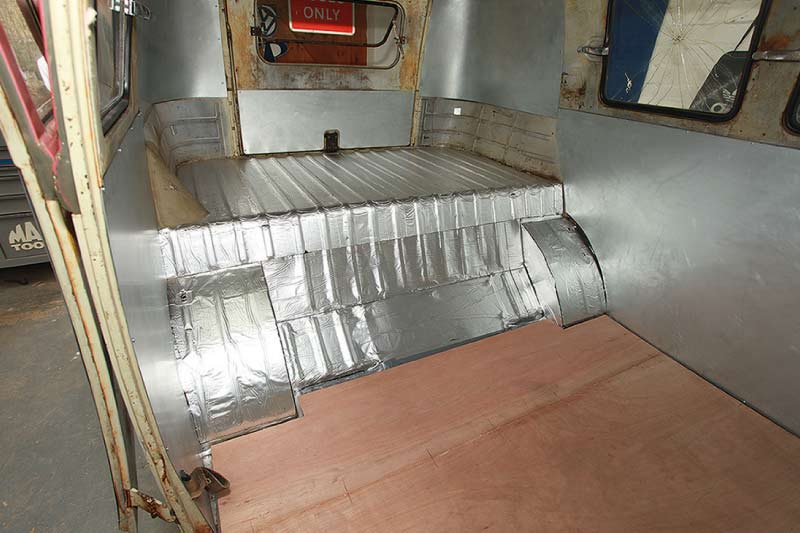
If you haven’t done so already, the time to strip as much of your Bus’ interior out as you can because you need unrestricted access to both the rear wheelarches and the floor in the back of the Bus to do this job.
Step 2
Lay out your pieces
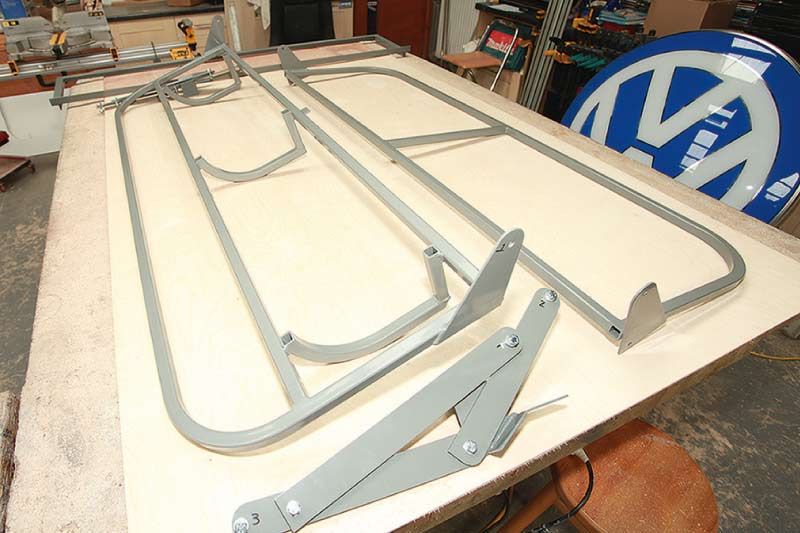
Lay the bed sections out and acquaint yourself with the left hand and right hand-specific parts. Lee kindly writes on the bed frame and hinge sections in pen – 1, 2 and 3 on the left, A, B and C on the right. Altogether you should have five separate metal pieces to make up the bed.
Step 3
Begin Assembly
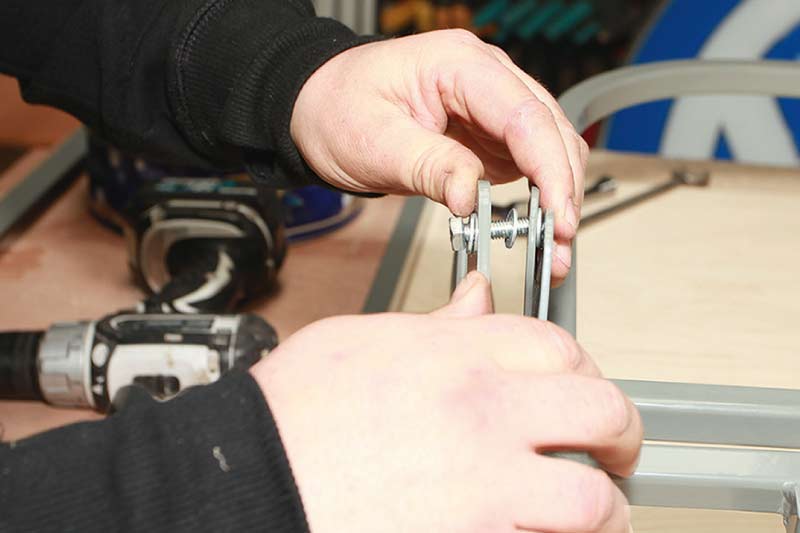
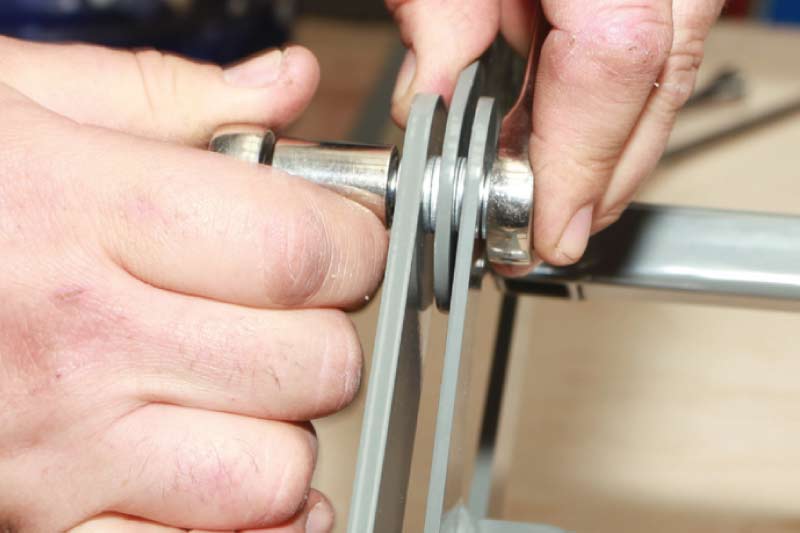
As you’re looking at the front of the seat, slot the first pair of the M8 bolts through the hinge with markings 1 and A. Don’t forget to add the supplied washers both outside and inside the hinge as shown.
Step 4
Repeat
Repeat this process on the other side and unite the hinge to the rest of the framework. Pass the bolt through the back rest fixing first, add another washer, then pass the bolt through the lower seat frame fixing and add another washer. You should end up with bolt head, washer, hinge, washer, back rest, washer, lower squab, washer, nut in that order.
Step 5
Tighten
Tighten both sides using a 13mm socket and 17mm spanner.
Step 6
Section 2 and B
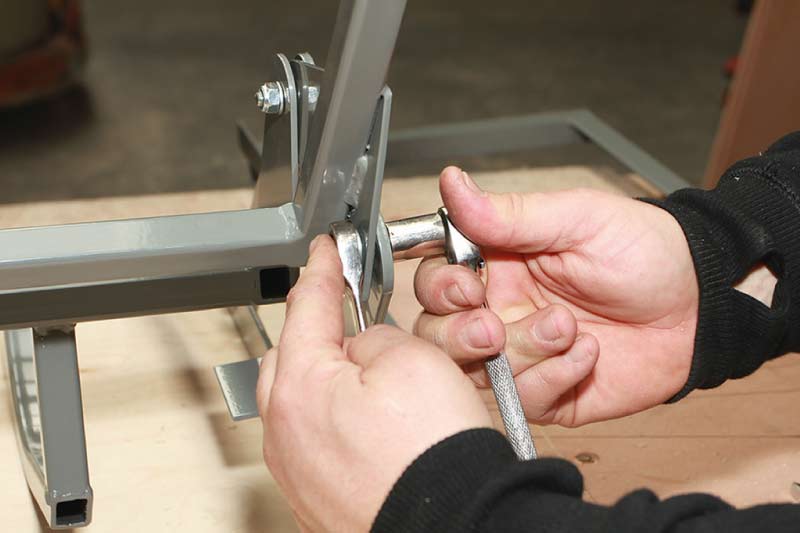
Insert the next bolt through both section 2 and B on the left and right hinges into the back rest plate. Don’t forget those washers between any metal surfaces.
Step 7
Screw
Screw on the Nyloc and then tighten with the 13mm and 17mm socket / spanner. Repeat on both sides.
Step 8
Flip
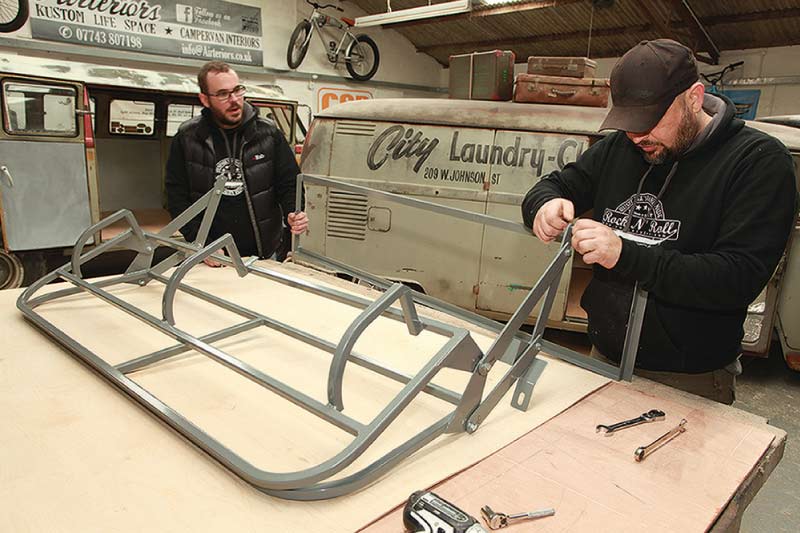
The two hinges and both lower and rear seat frames should now be united and nipped up tight. Flip the seat over so it’s resting on its rear frame and extend the hinge so that sections 3 and C are exposed at the bottom.
Step 9
Screw
Slide the third bolt through, again not forgetting those washers between each metal surface. Ensure the lower seat rest is pointing in the right direction. Tighten the nut and bolt using the 13mm and 17mm spanner / socket.
Step 10
Inspect
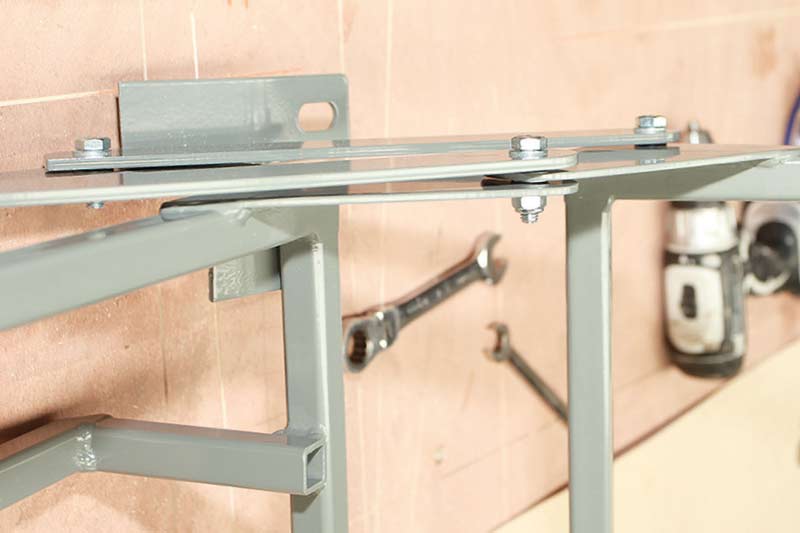
After ensuring everything is nipped up nice and tight, stand the seat up to inspect your handiwork. You can see here how the washers are a vital part of the design as they permit enough room for the hinges to slide without interference.
Step 11
Grab a Buddy
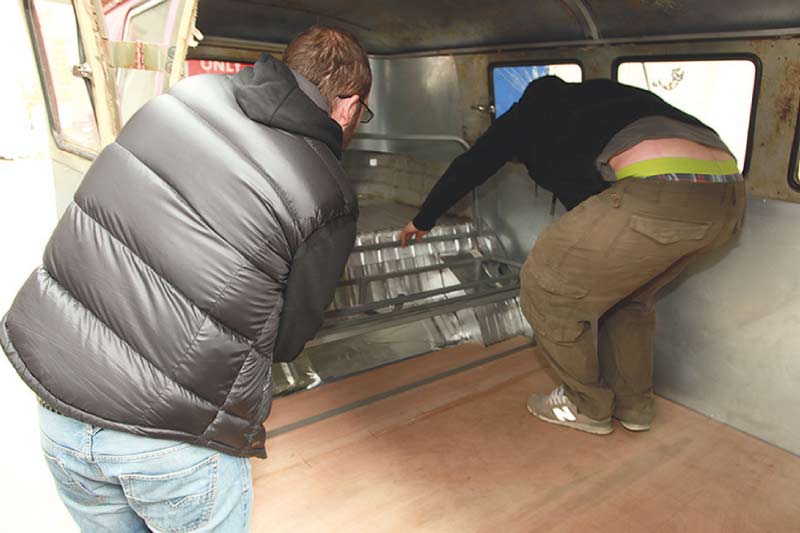
Transfer the completed seat to your Bus. Two pairs of hands makes this step much simpler.
Step 12
Mark the Holes
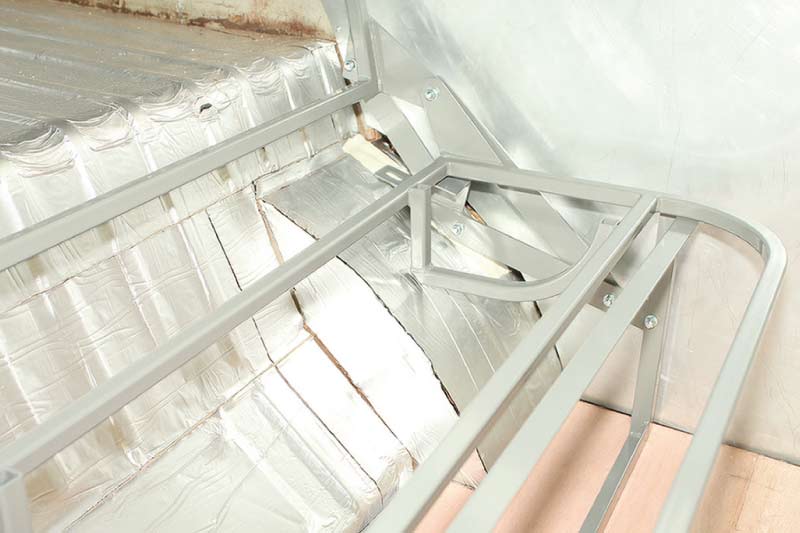
Position the seat roughly upright so the bolt-in feet are level with the wheelarches. We used a strip of masking tape to avoid damaging the sound deadening, and also so we could mark the position of the holes to be drilled for the M10 high-tensile bolts. It should sit squarely so the ’arches support it, and obviously be central in the load space. When we have installed the benches here in our shop, we have found that this hole should be about 2 3/4” from the firewall. Please use this measurement as a starting point, and double check that the same measurement will work with your specific set up.
Step 13
Level it Out
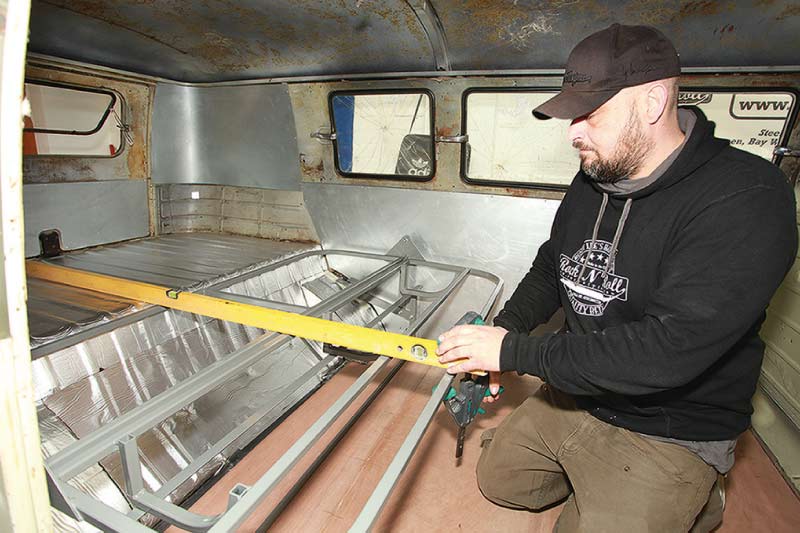
Nick then unfolded the bed to ensure it sat straight and checked with a level. Rusty Lee’s tag line, ‘Sleep like a King’ only applies if you put the bed in straight! Quick grips ensured it remained true.
Step 14
Double Check and Mark
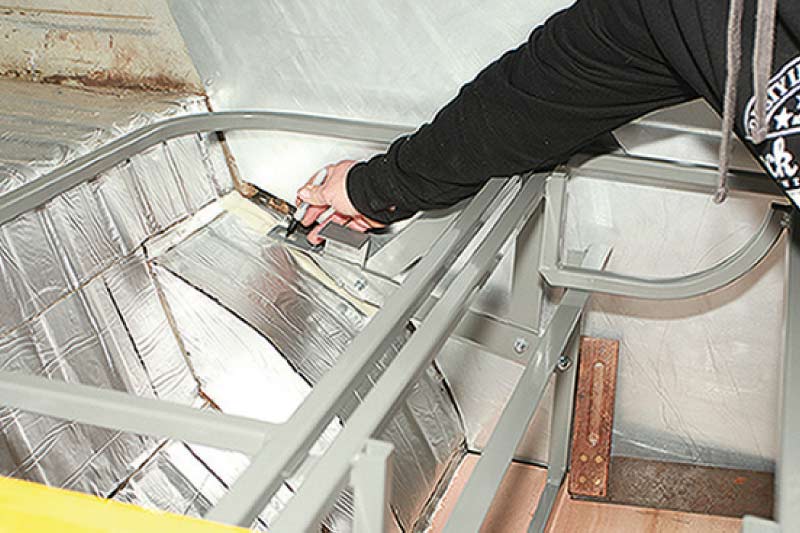
Don’t forget to check that the lower support structure is also straight using a set square. Mark the position of the holes to be drilled through the wheelarches for the M10 bolts to drop through.
Step 15
Drill
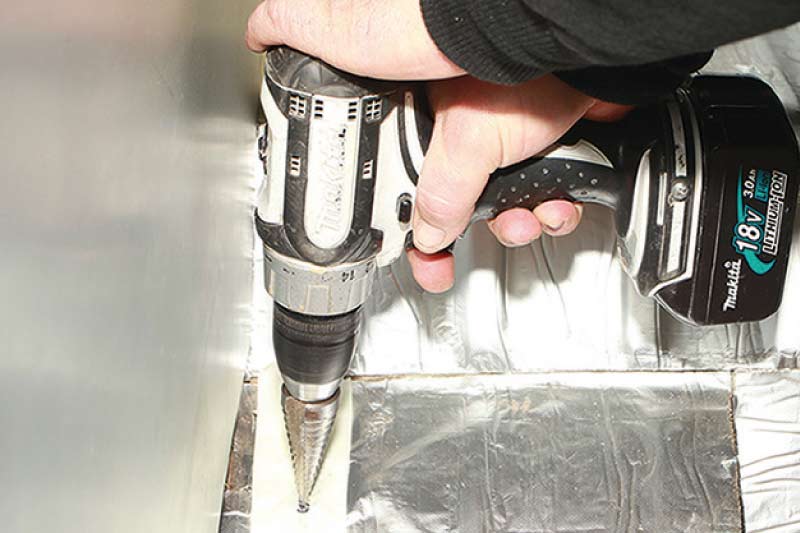
With the positions accurately marked, bust out your best stepped hole cutting drill bit. Don’t make the holes larger than the diameter of your bolts and ensure your tyres are clear of the ’arches before you puncture them. Don’t forget to rust proof the bare metal edges of the holes with a suitable primer or rust preventative treatment.
Step 16
Grab the Hardware
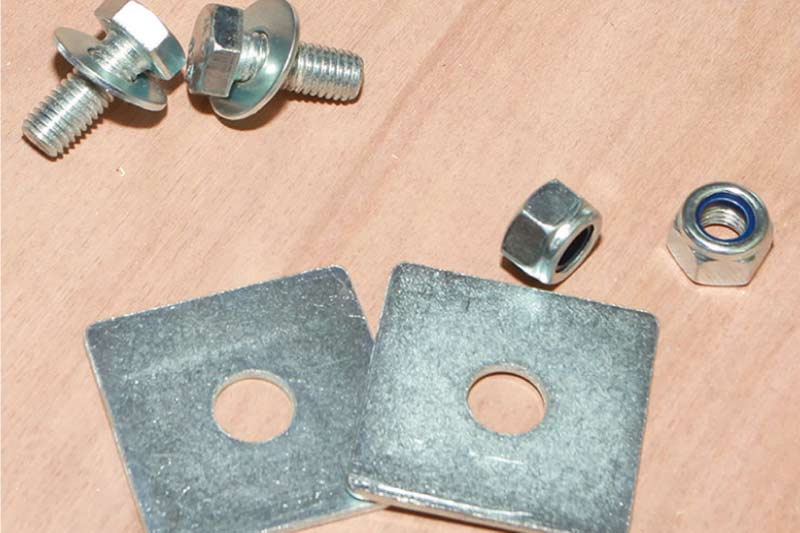
The kit comes with the spreader plates, the high-tensile bolts and the Nylocs needed to hold the bed in place.
Step 17
Bring Your Friend Back
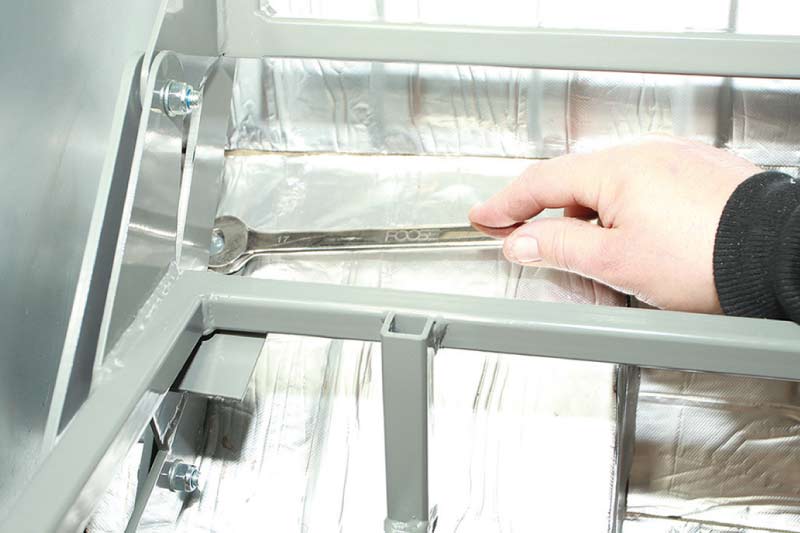
With the help of your able assistant, wrestle the bed back into position and drop the bolts through the holes. What you can’t see here is that Lee is underneath the Van with the socket ready to nip up the Nyloc from below. Repeat for the other side.
Step 18
Pilot Holes
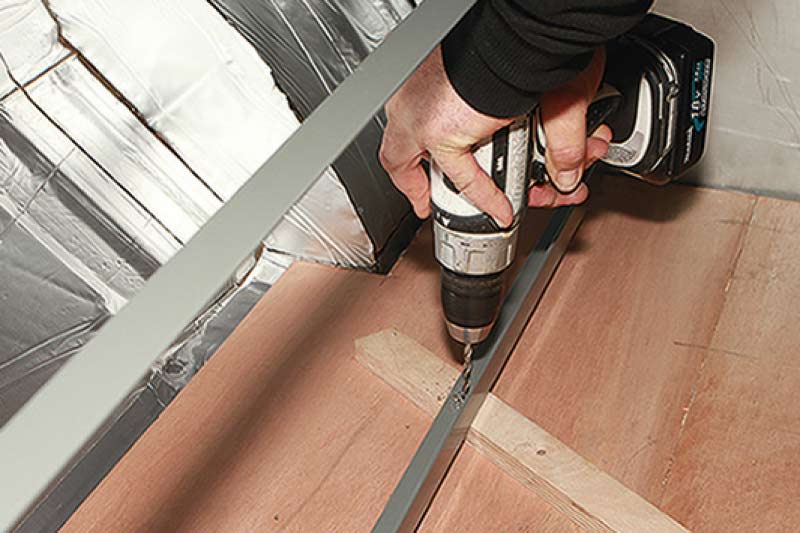
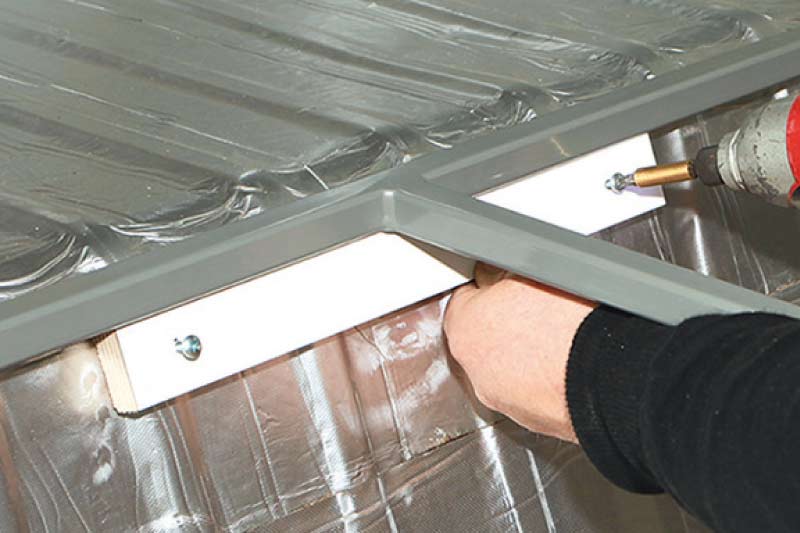
Check once again that the lower support frame is straight and true. Using some offcuts of wood, lift the lower framework up slightly and slide the offcuts under so you can drill pilot holes for the self-tappers that will secure the frame to the ply floor. As per the instructions, fit one either side of the frame. In this image there are two pieces of wood. One that is acting as a subfloor and should be about 3/8”. The small sliver of wood is just used here to keep the drill from going through the floor fully, and will not be a permanent piece included in your final install.
Step 19
Support the Backrest
To add some extra support to the back of the bed, Nick then made a stop out of some 50mm carcassing / sawn timber. Go very carefully here with the drill as on almost all Splits and all Bays the fuel tank sits right behind here. Ensure the screws to hold this in place are suitably short. The top of this support should be roughly 1 1/4” from the top.
Step 20
Wood/Foam/Upholstery
Now that your frame is installed, you can start work on the wood, foam, and upholstery.
Step 21
Screw Wood to the Frame
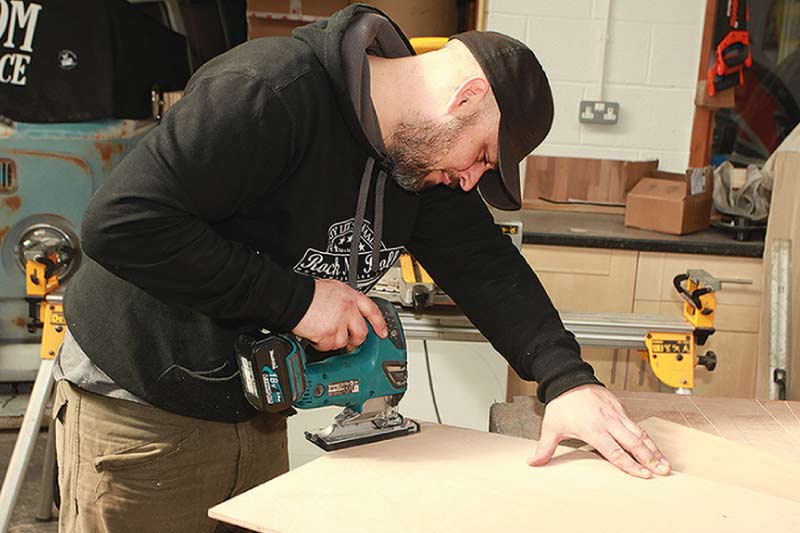
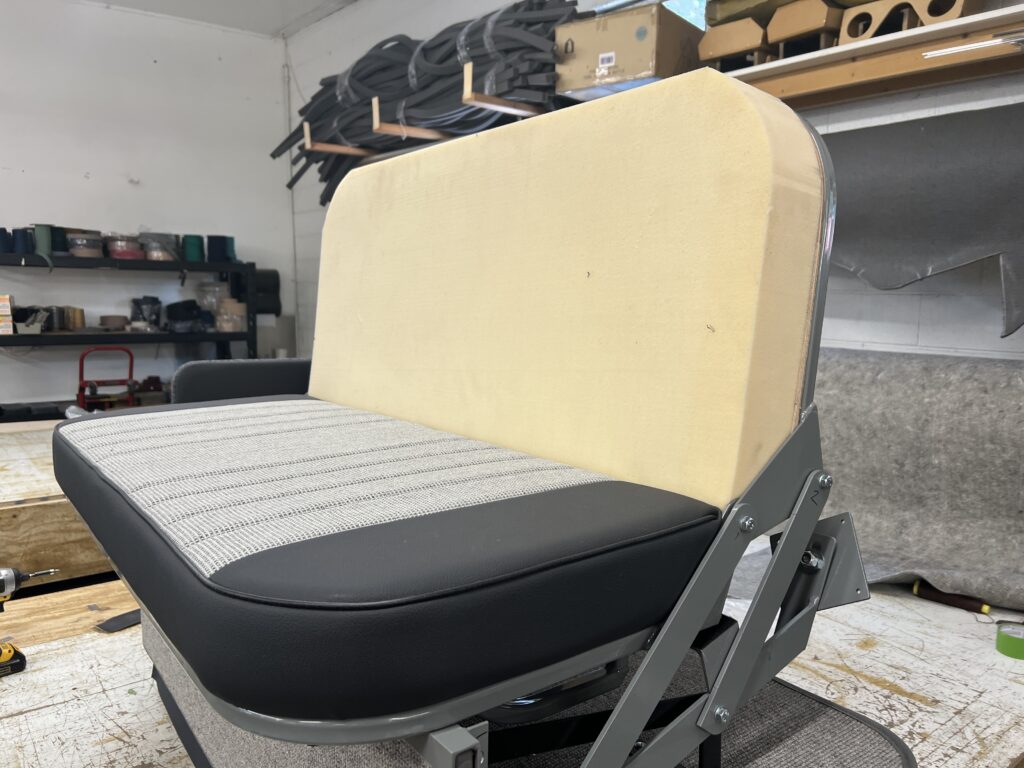
The backrest will come as separate pieces. You’ll have the frame which is now installed into the vehicle. Next, you will screw the backrest wood to the frame. Then, you will glue the foam to the backrest.
Step 22
Silk Wrap
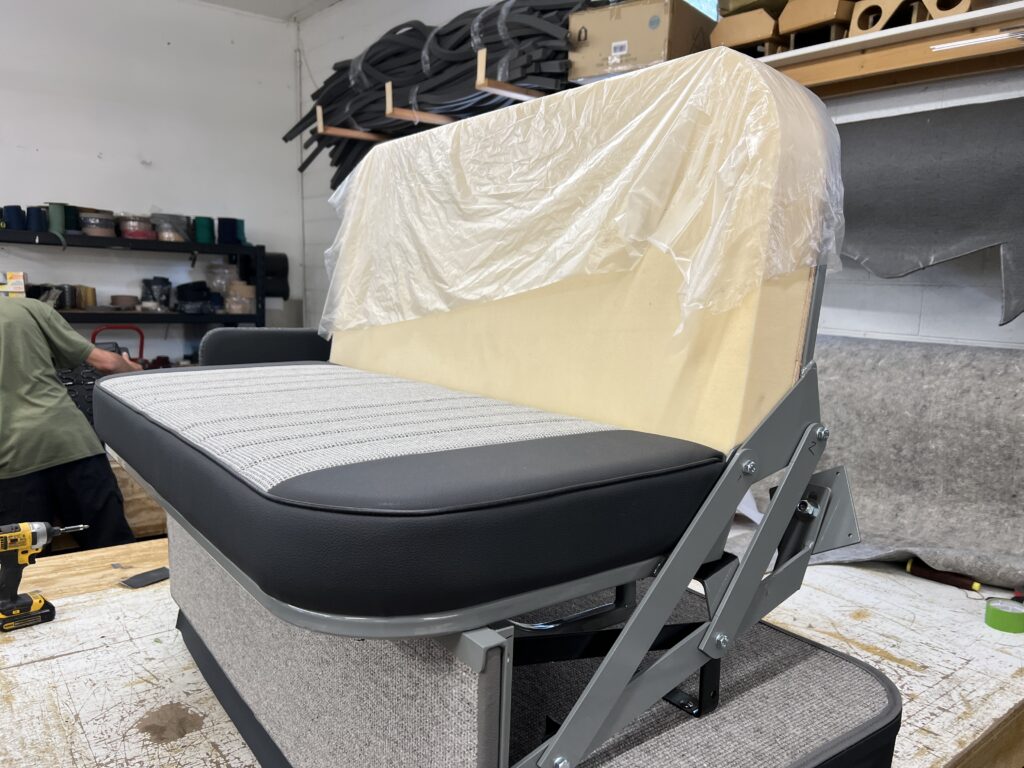
Next you will drape the silk wrap over the backrest. The silk wrap is a very thin plastic sheet. It will come to you folded, so you’ll need to open it up and use it to cover the entire backrest. This gives a barrier between the foam on the cover, and the 3” foam for the backrest.
Step 23
Cover
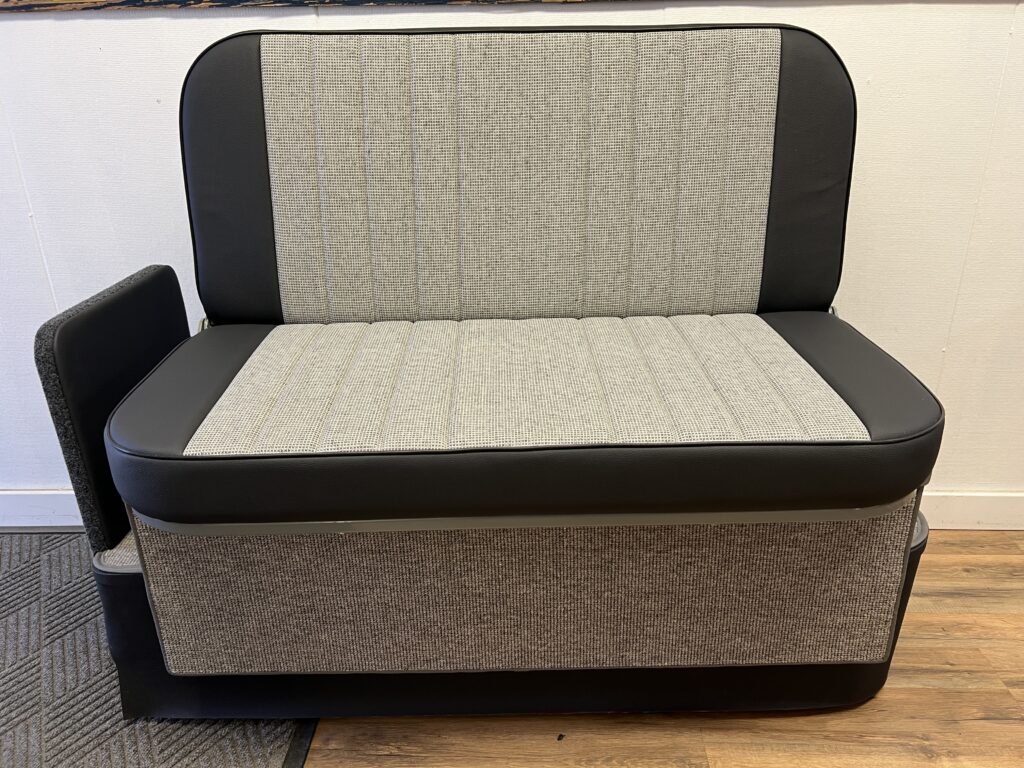
Once the backrest is covered with the silk wrap, you will slide the backrest cover down over the wood, frame, foam, and silk wrap. It is a tight fit, and that is on purpose! Once you get the cover down all the way, connect the velcro under the bottom, and your backrest is ready to go!
Step 24
Cushion
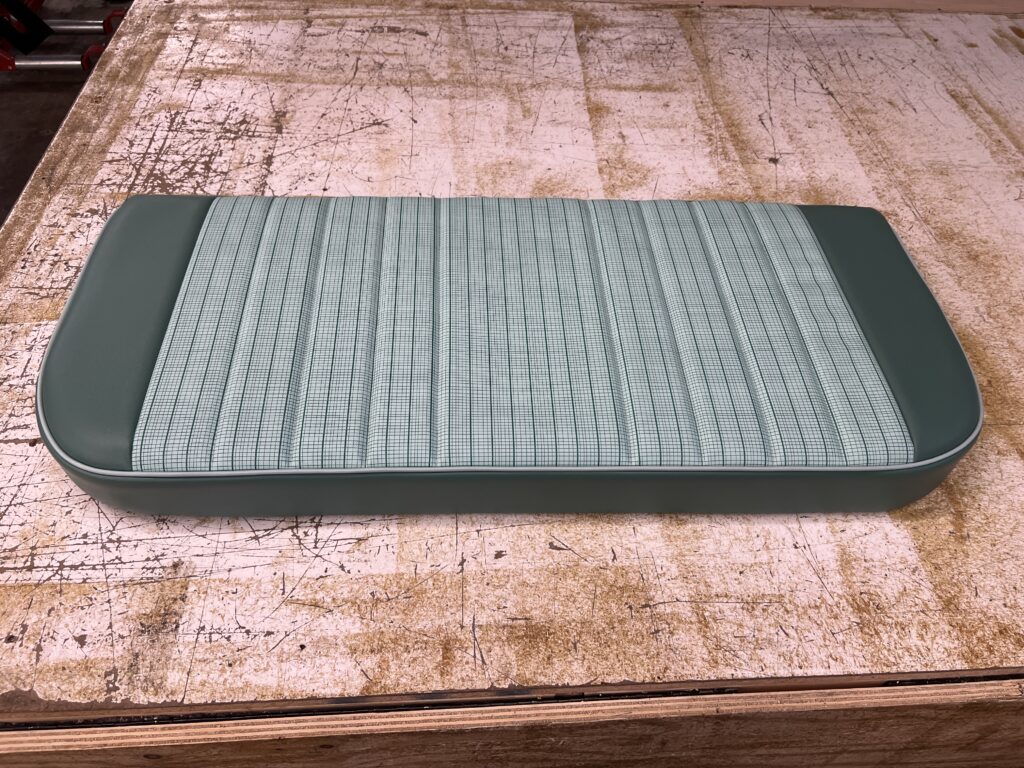
The cushion will come to you as one unit, with the foam and cover already being installed together.
Step 25
Cushion Install
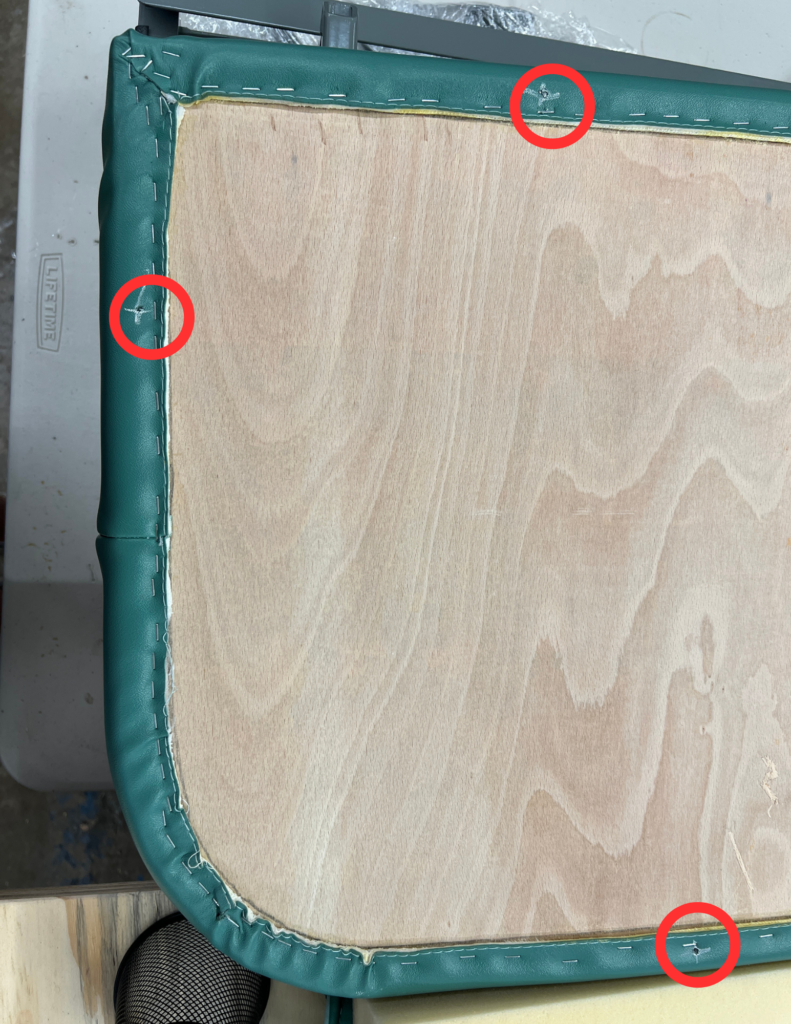
The bottom side of the cushion will have spots marked where T Nuts have already been installed into the wood. You will line these marks up with the pre drilled holes on your frame, and use the provided screws to attach the cushion to the frame.
Step 26
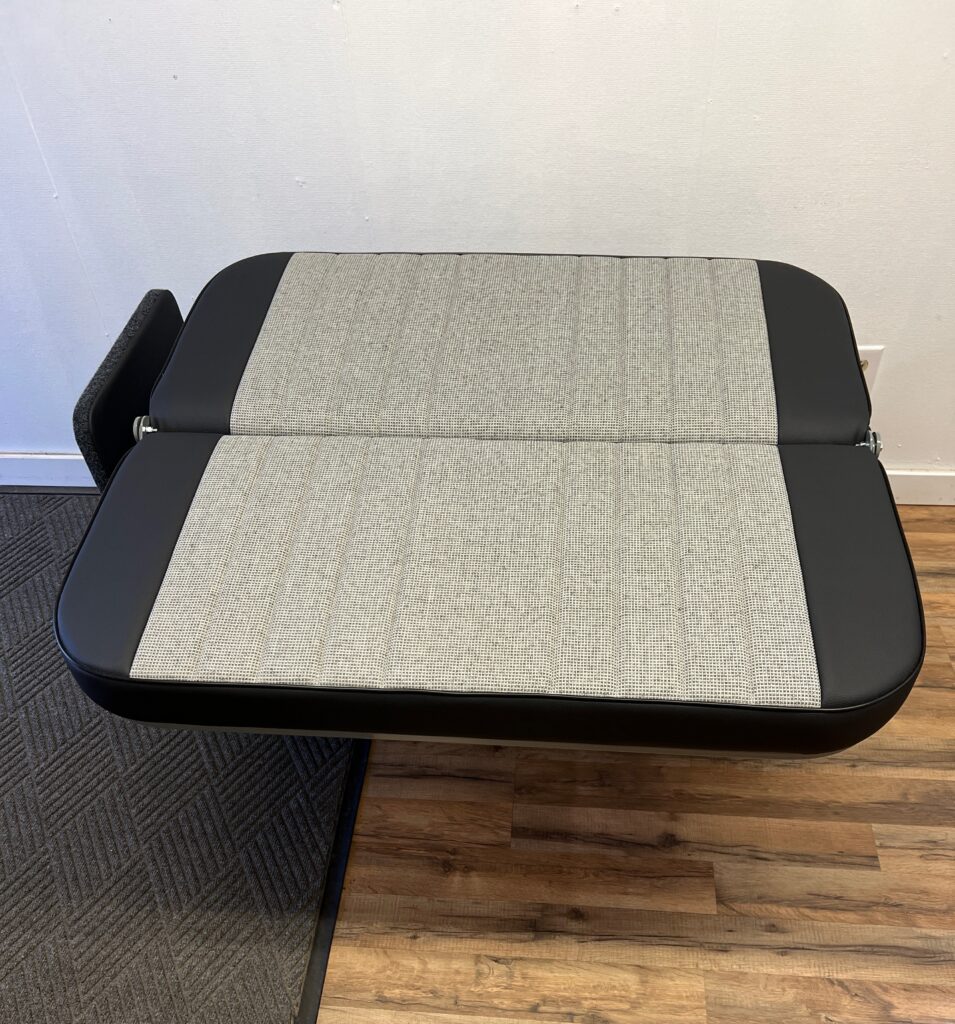
Sleep Like A King!
Installation FAQ
Common Questions
Here are a few of the most common questions customers ask before fitting a Rusty Lee Rock N Roll Bed.